
Last updated November 15, 2026
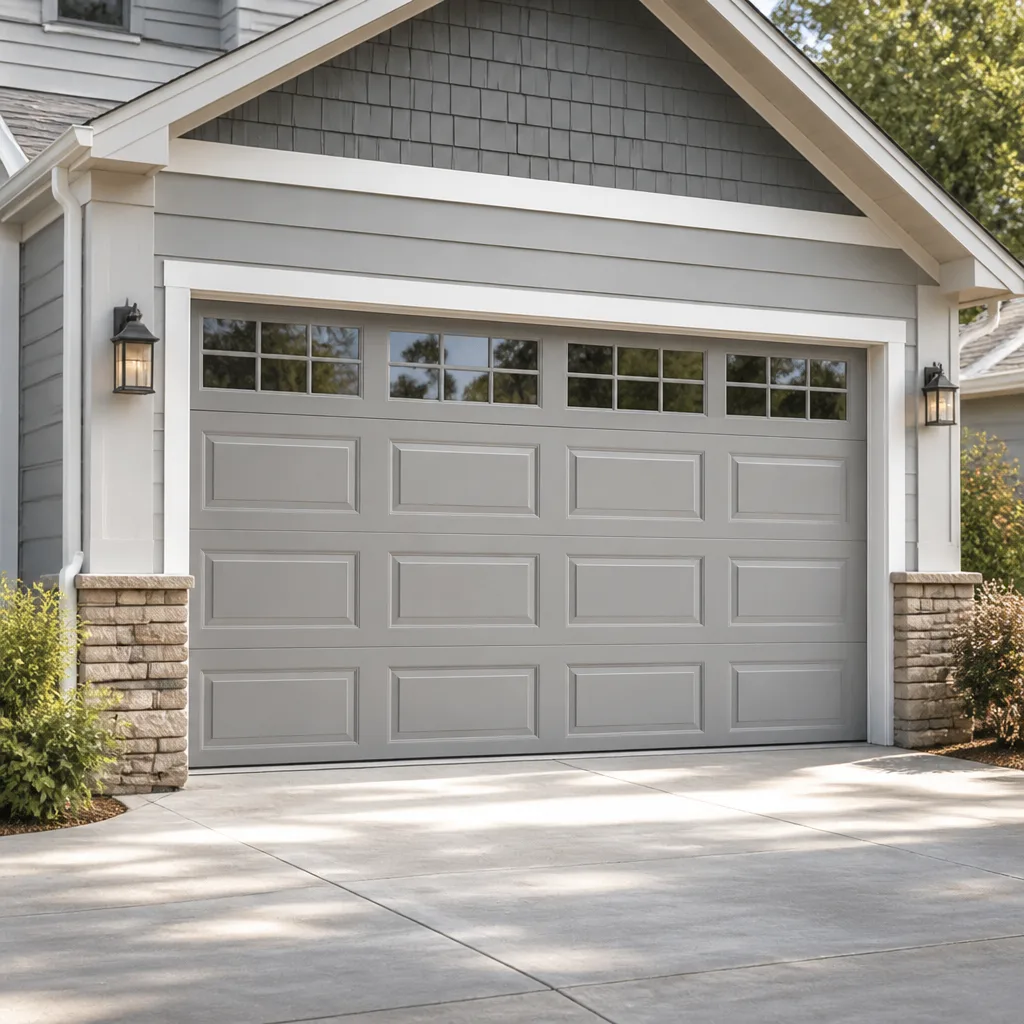 Raised-panel steel
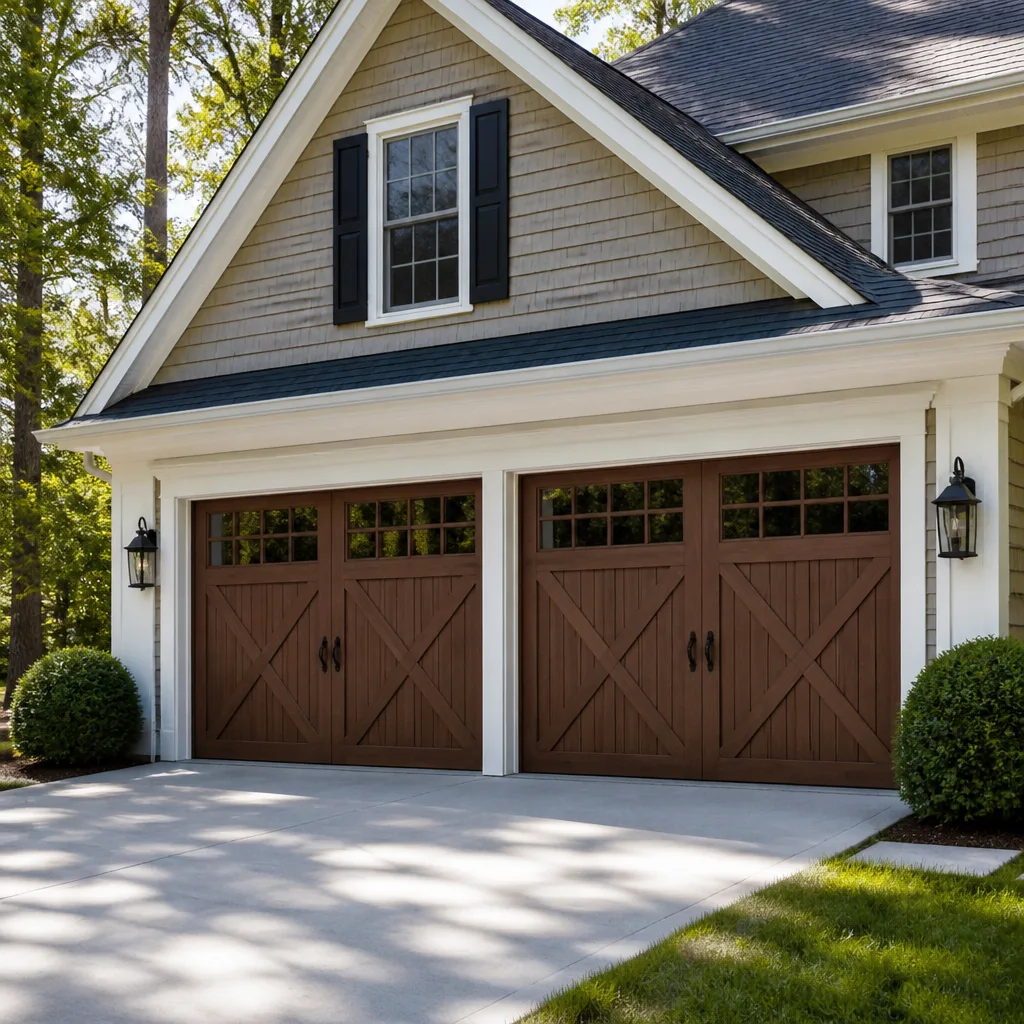 Carriage house
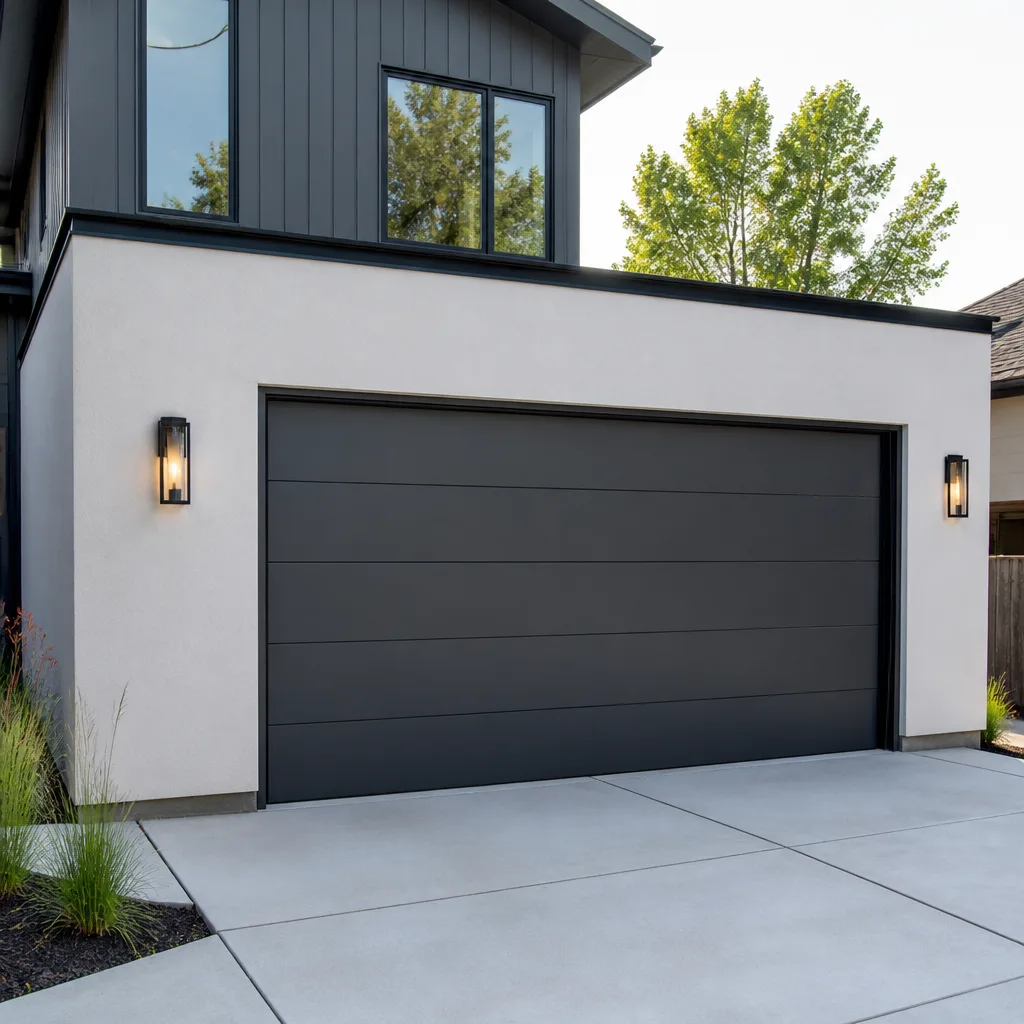 Modern flush
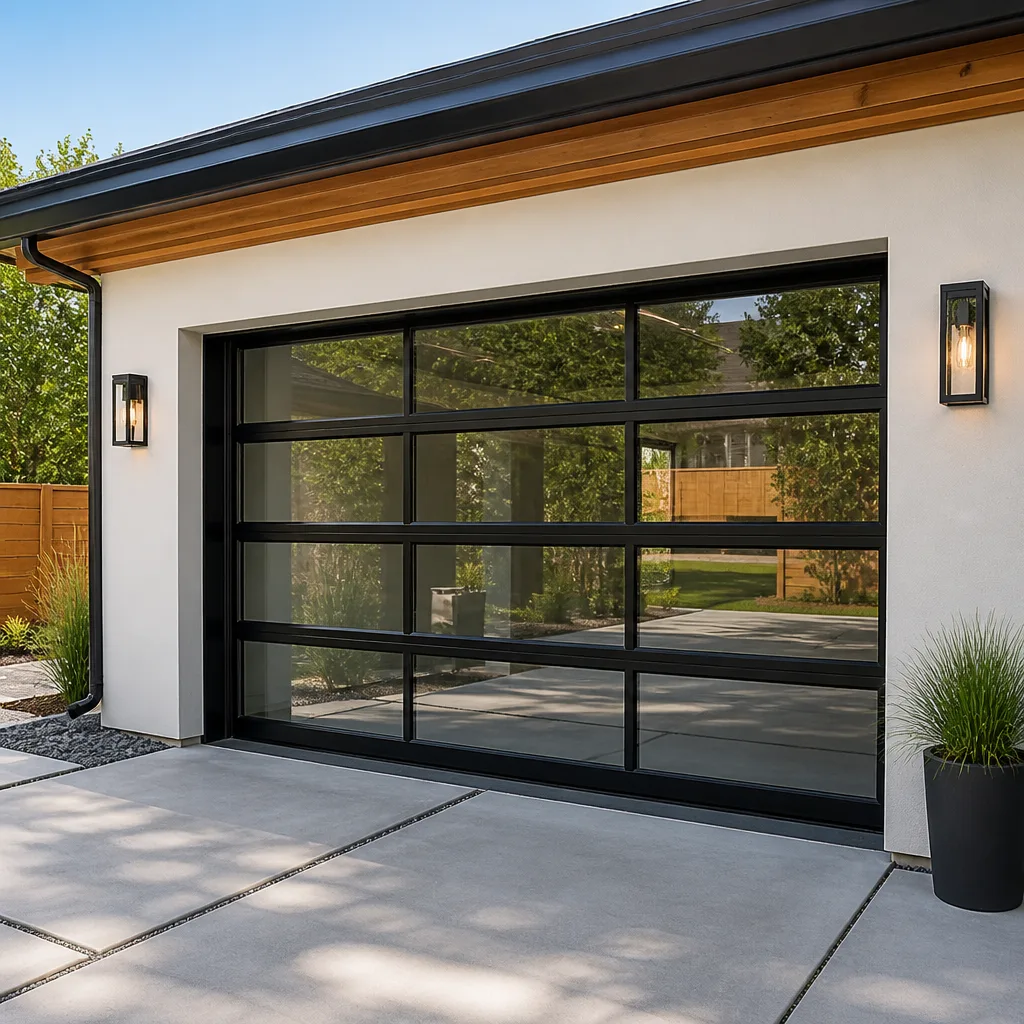 Full-view glass
 LiftMaster openers
 Chamberlain openers
Full 25-point door and opener safety check with every visit - springs, cables, rollers, tracks, and your LiftMaster or Chamberlain opener included
You get a price before we start. It does not change when the pro arrives.
Get your free estimateDIY vs Professional Garage Door: The High Point Homeowner’s Decision Guide
Torsion spring replacement sends more homeowners to the emergency room than any other garage door task, and it’s not because those homeowners are careless. It’s because every video tutorial makes the job look like a weekend project when the physics underneath it never changed: a wound torsion spring holds enough stored energy to move a door weighing hundreds of pounds, and releasing that energy the wrong way is unforgiving. The truth is that most garage door work is genuinely DIY-friendly, and a small slice of it is genuinely dangerous. This guide draws that line precisely, task by task, so High Point homeowners stop paying for work they could safely do themselves and stop attempting work that a trained technician should handle. You’ll get plain rulings, the reasons behind them, and the cost math for the middle ground.
Quick Answer
About 90% of garage door maintenance is safe to do yourself: lubricating moving parts, cleaning the photo-eye sensors, tightening loose brackets, balancing the door by hand, and replacing weather seals and remote batteries. The remaining 10% is where the disagreement lives. Any job that involves torsion springs, extension springs, cables, or the high-voltage side of the opener is a hard stop for DIY. Everything else sits in a middle ground you can decide with a few clear questions.
Styles & brands we work with
- Raised-panel steel
- Carriage house
- Modern flush
- Full-view glass
- LiftMaster openers
- Chamberlain openers
Table of Contents
- The Three-Zone Framework: Safe DIY, Conditional, and Hard Stop
- Safe DIY Tasks: What You Can Honestly Do Yourself
- Why Torsion Springs Are a Hard Stop: The Physics Explained
- The Middle Ground: When Tool Cost Flips the DIY Decision
- The Partial-DIY Model: What to Prep Before a Technician Arrives
- What Voids a Manufacturer Warranty and What Doesn’t
- High Point Conditions That Affect Your Door
- Common Mistakes to Avoid
The Three-Zone Framework: Safe DIY, Conditional, and Hard Stop
Every garage door task falls into one of three zones. The framework isn’t about whether you’re handy or cautious; it’s about the physics and the warranty. Here’s the ruling:
Zone 1: Safe DIY
These tasks involve no stored spring energy, no high voltage, and no risk of the door coming down. If you have a ladder, a screwdriver, and a few minutes, they’re yours:
- Lubricating hinges, rollers, tracks, and the spring (wiped clean, then a thin coat of garage-door lubricant, not WD-40)
- Cleaning the photo-eye safety sensors and wiping the lenses
- Testing the auto-reverse safety feature by placing a board in the door’s path
- Tightening loose hinge screws and bracket bolts
- Replacing weather seals on the bottom and sides
- Changing remote batteries and reprogramming a remote keypad
- Cleaning and wiping down panels with mild detergent
Zone 2: Conditional DIY
These tasks are doable in some situations and not others. The deciding factors are typically the age of the door, whether the opener is under warranty, and whether the door has a single torsion spring or a matched pair. A track that’s slightly out of alignment can sometimes be tapped back with a rubber mallet. A door that’s binding or dragging calls for a technician. A single roller replacement on an older door is often a reasonable DIY job; replacing all of them on a door with a wound spring overhead is not.
Zone 3: Hard Stop
Do not attempt these yourself under any circumstances:
- Torsion spring replacement or adjustment
- Extension spring replacement or adjustment
- Cable replacement or re-tensioning
- Replacing or adjusting the opener’s circuit board or capacitor
- Any electrical work on the opener’s high-voltage side
- Replacing the bottom bracket or any component under tension
- Untangling or repairing a cable that has come off its drum
If your door is in Zone 3, the work calls for a technician who has the tools, the training, and the insurance. Call garage door repair for a same-day visit.
Safe DIY Tasks: What You Can Honestly Do Yourself
Let’s start with the work you can genuinely own. These are the maintenance tasks every garage door needs at least a couple of times a year. If you do nothing else, these four steps prevent the majority of avoidable breakdowns:
- Lubricate the moving parts. Use a garage-door-specific lubricant on the hinges, rollers, spring, and tracks. Choose a dry or silicone-based lubricant rather than a general-purpose oil that attracts dust. One application every six months is enough for most doors in High Point.
- Test the auto-reverse feature. Put a 2×4 or a sturdy board flat in the path of the door and press close. The door should reverse the moment it contacts the board. If it doesn’t, the opener’s force limits need adjustment (which is a zone 2 task if you’re comfortable, a technician job if you’re not).
- Check the photo-eye sensors. Look for a small LED on each unit at the bottom of the door tracks. Both should be lit and solid, not blinking or dark. If one is out, check the alignment and clean the lens first. Persistent failure means a sensor replacement.
- Listen for the door while it operates. A healthy door is quiet and even. Grinding, scraping, squeaking, or a door that stops halfway through travel is a signal to investigate before the problem worsens.
Add in a seasonal wipe-down of the panels and a check of the weather seals, and you’re covering the majority of what a door actually needs. Craftsman and Genie openers, in particular, are forgiving of homeowner maintenance and easy to check without specialized tools.
What you’ll quickly notice is that the safe tasks are also the tasks that prevent the expensive repairs. Garage doors are one of the few home systems where preventive maintenance actually pays off in avoided breakdowns rather than just “feeling good.”
Why Torsion Springs Are a Hard Stop: The Physics Explained
The torsion spring at the top of your garage door is the single most dangerous component on the whole assembly. Here’s what’s actually happening: the spring is wound tightly around a steel shaft, and that winding stores energy the way a wound watch stores tension, except multiplied many times over. To be in balance, the spring has to lift exactly the right amount of the door’s weight, roughly the door’s weight divided by the mechanical advantage of the cable-and-drum system. When a technician winds the spring by hand with a winding bar, the spring is holding literally tons of force against the bar. If the bar slips, the spring unwinds instantly and the bar swings with enough force to break bones.
The same physics means a spring already under tension is dangerous to even touch in the wrong way. A homeowner who tries to unbolt a bracket while the spring is wound has created a spring-loaded projectile. This is why nearly every torsion spring on the market carries a warning label – not as a liability hedge, but as a genuine warning.
The good news for High Point homeowners is that this physics doesn’t force every task to a pro. It just means the task list above is genuinely non-negotiable. Amarr and Raynor door systems in particular have specific torque specifications that have to be followed during spring replacement; a technician has the winding bars, the torque tools, and the matching spring size.
What about extension springs? They’re less dramatic than torsion (no winding bars), but they still store enormous energy, and a failed extension spring can travel with force. The same rule applies: don’t touch them.
The Middle Ground: When Tool Cost Flips the DIY Decision
The middle ground is where cost math actually matters. Here’s what a serious DIY attempt at a middle-ground job would cost you:
- Torsion spring winding bars: a set from a specialty supplier, often $30 to $60 for a quality pair. Cheap bars are cheaper but a known hazard.
- Proper winding technique knowledge: free on video, but the videos don’t come with a spotter, a winding bar holder, or someone to catch the bar if it slips.
- Specialty tools specific to your door’s brand: Amarr and Wayne Dalton hardware uses brand-specific components, and a generic replacement may not fit.
- Time: a first-time spring replacement typically takes 2 to 4 hours if you’re experienced with the tools, hours longer if you’re learning on the fly.
- Replacement springs (sourced correctly): correct length, wire gauge, and inside diameter are critical. Wrong spring size puts the door out of balance and stresses the opener.
When the tool cost plus the risk plus the time exceeds the cost of a written estimate from a local tech, the decision flips. That’s not a sales pitch – it’s an apples-to-apples comparison. On a simple Cable replacement or roller swap that doesn’t involve springs, DIY is often the right call. On a spring job, the tool and safety math doesn’t work.
Here’s another way to see it: the middle ground is where the door brand matters. LiftMaster opener logic boards and Chamberlain control panels are two-sided – a homeowner can absolutely swap a battery or reprogram a remote, but the internal circuit board on either is a specialist job because one wrong jumper can damage the opener beyond repair.
The Partial-DIY Model: What to Prep Before a Technician Arrives
You can reduce the billable time on a technician visit by doing the prep yourself. This is the underused move most homeowners skip. Here’s the pre-visit checklist that actually matters:
- Clear the garage bay and the door’s moving path. A technician can’t service springs or cables safely with boxes stacked under the door.
- Manually operate the door and take notes. Does it stick, squeal, or bind on the way down? Note when, where, and how. Your observations shorten the diagnosis.
- Write down the brand and model of the door and opener. The tech will find it, but a homeowner who knows they have Wayne Dalton hardware, for example, saves a step.
- Locate the manual. The opener manual lists specific safety instructions and force adjustment values that speed up the visit.
- Disengage the opener and test the door by hand. Pull the red release handle and lift the door halfway. It should stay in place. If it sinks slowly or drops quickly, that’s a spring balance issue worth flagging to the technician before they arrive.
- Have your contact info and a good description ready. A short, clear description of the problem by phone means the technician arrives prepared.
This prep is safe (no springs disengaged, no high voltage touched) and it reduces the time the technician spends on site, which usually reduces the job. It also means you get the right answer faster. Straight diagnosis, straight price.
What Voids a Manufacturer Warranty and What Doesn’t
Manufacturers write garage door warranties with specific language, and most homeowners never read it. Here’s the honest breakdown of what typically voids a warranty and what doesn’t:
Usually voids the warranty
- Using non-OEM replacement parts (springs, cables, rollers) that don’t meet the manufacturer’s specifications. If you replace a Clopay door’s spring with a generic from a home store that doesn’t match the load rating, the door manufacturer may decline a subsequent spring-related claim.
- Self-installing an opener or door panel that the manufacturer expects to be professionally installed.
- Adjusting spring balance beyond the factory configuration.
- Removing or bypassing any safety component.
Usually does NOT void the warranty
- Routine maintenance you do yourself (lubrication, cleaning, testing)
- Replacing consumables: weather seals, remote batteries, photo-eye sensors (in most cases)
- Reprogramming remotes or keypads to the factory specification
- Having a technician perform the work with OEM parts
The practical takeaway: the safe DIY tasks above almost never void a warranty. Spring repairs and opener electronics work do. If your opener is under a manufacturer warranty (common on newer doors), the specific terms usually say a certified technician should perform the work. Read the manual, not the sales brochure.
We work on your brand, which means when you call us for warranty-eligible work, the technician is familiar with the specific terms across systems the major manufacturers use. Ask at booking what documentation the manufacturer needs.
High Point Conditions That Affect Your Door
Garage doors in High Point face the Piedmont climate, and that means specific seasonal pressures. Summer humidity in the region is real, and humidity is what causes steel hardware to corrode and wooden doors to swell. A wooden door in High Point will benefit from a fresh coat of exterior-grade sealant every year or two, which is a homeowner task. A steel door with painted panels holds up much better, but the hinges and rollers still benefit from the lubrication schedule above.
Winter brings cold snaps, and cold weather stiffens the grease in hinges and makes weather seals brittle. Summer thunderstorms can bring high winds and occasional impact debris – the type of damage that a visual inspection catches before it becomes a structural issue. After a strong storm, a walk around the door to check for bent panels or misaligned tracks is a homeowner task.
On the housing side, High Point has a wide range of garage door vintages. Older neighborhoods often have doors with extension springs still in service, which are both older and less redundant than torsion. Newer builds often use torsion springs and high-lift track geometry. If your home has an older door, the inspection checklist matters more, not less.
The specific details of how a door should be installed (permit requirements, code specifics) vary by jurisdiction. If you’re planning an installation, ask the city’s building department about permits before you start. What we can say from experience is that the door itself rarely fails because of the climate alone – it fails because maintenance was skipped.
Common Mistakes to Avoid
We’ve seen the same mistakes made repeatedly. Here’s the list, with the why behind each one:
- Attempting spring work with basic hand tools. A screwdriver cannot safely hold back a wound torsion spring. Winding bars exist for a reason; even a skilled DIYer should not attempt it without professional winding tools and knowledge.
- Using WD-40 as lubricant. It’s a penetrant, not a lubricant. It attracts dust, which collects on the rollers and grinds the tracks. Use a garage-door-specific lubricant.
- Skipping the balance test. Disengage the opener, lift the door halfway, and let go. If it doesn’t hold, the spring system is out of balance, and continuing to operate the door stresses the opener and cables.
- Ignoring a blinking photo-eye. A blinking LED is a signal, not background noise. It means the safety reversal isn’t verified. Every day the door operates with a faulty sensor is a day the safety system isn’t protecting anyone.
- Forgetting to check the emergency release. The red handle at the opener is only useful if it’s still attached and functional. Test it twice a year; a stuck door is dangerous in a power outage.
- Self-installing a new opener without a permit or manual check. Opener installation often requires a permit and must match the door’s load rating. A mismatched opener is a warranty problem waiting to happen.
- Assuming a quiet door is a healthy door. A door that runs smoothly but hasn’t been lubricated in years is one hinge failure away from a bigger repair.
None of these require a technician to fix. All of them are avoided with a 15-minute seasonal check.
See the difference
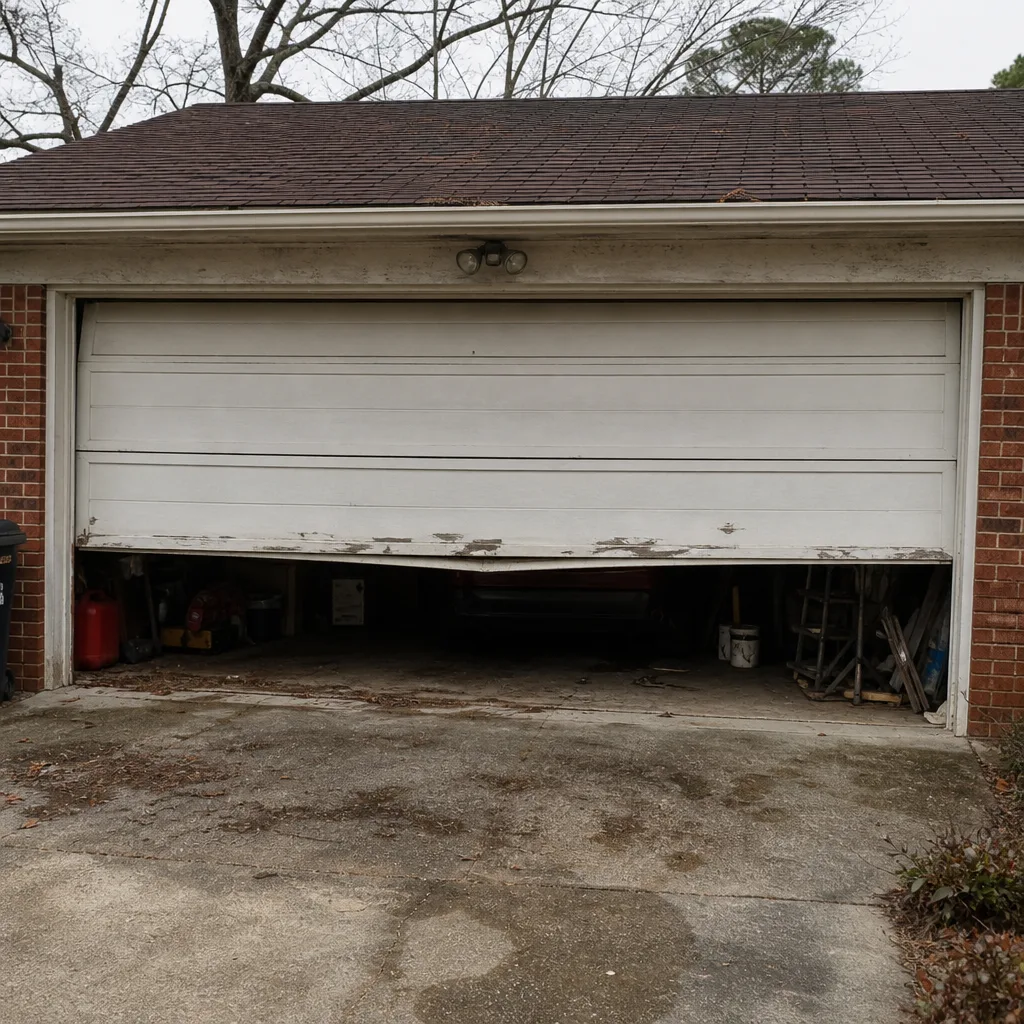 Before
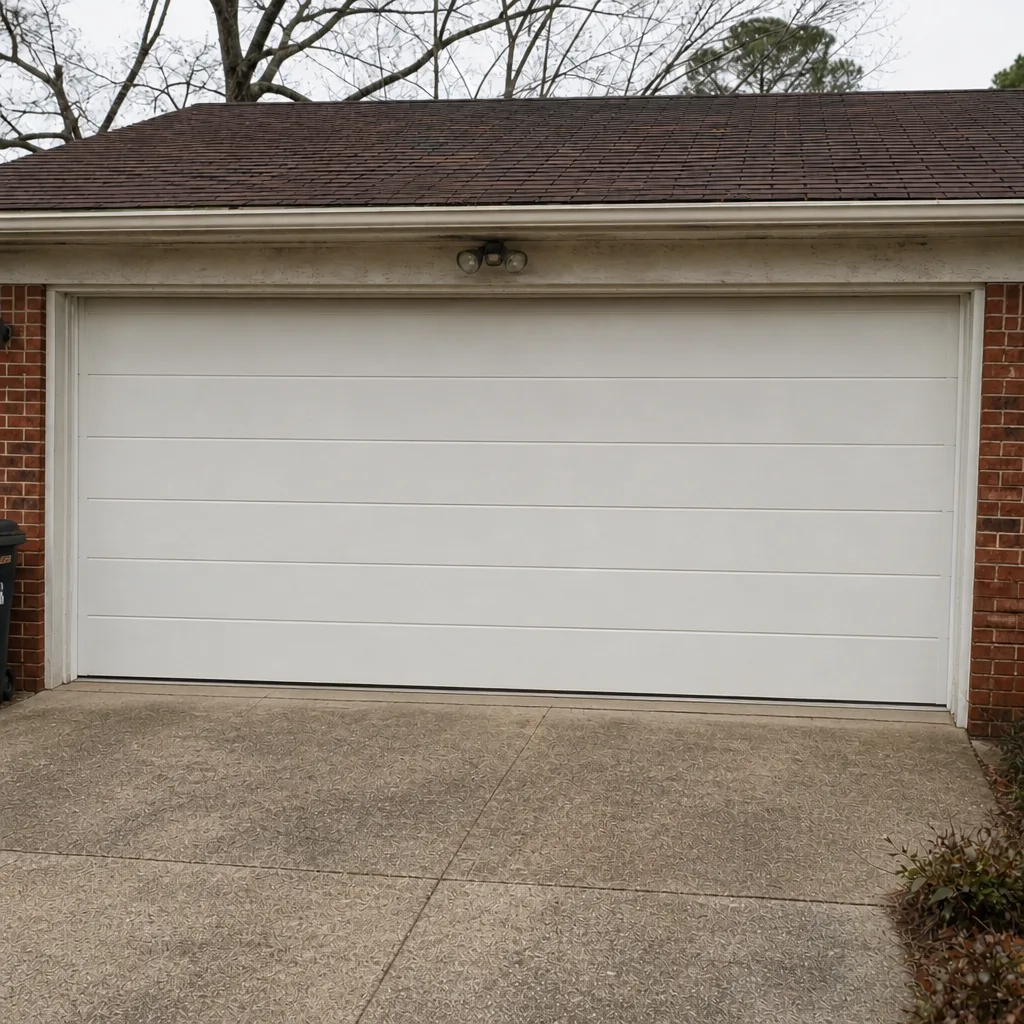 After
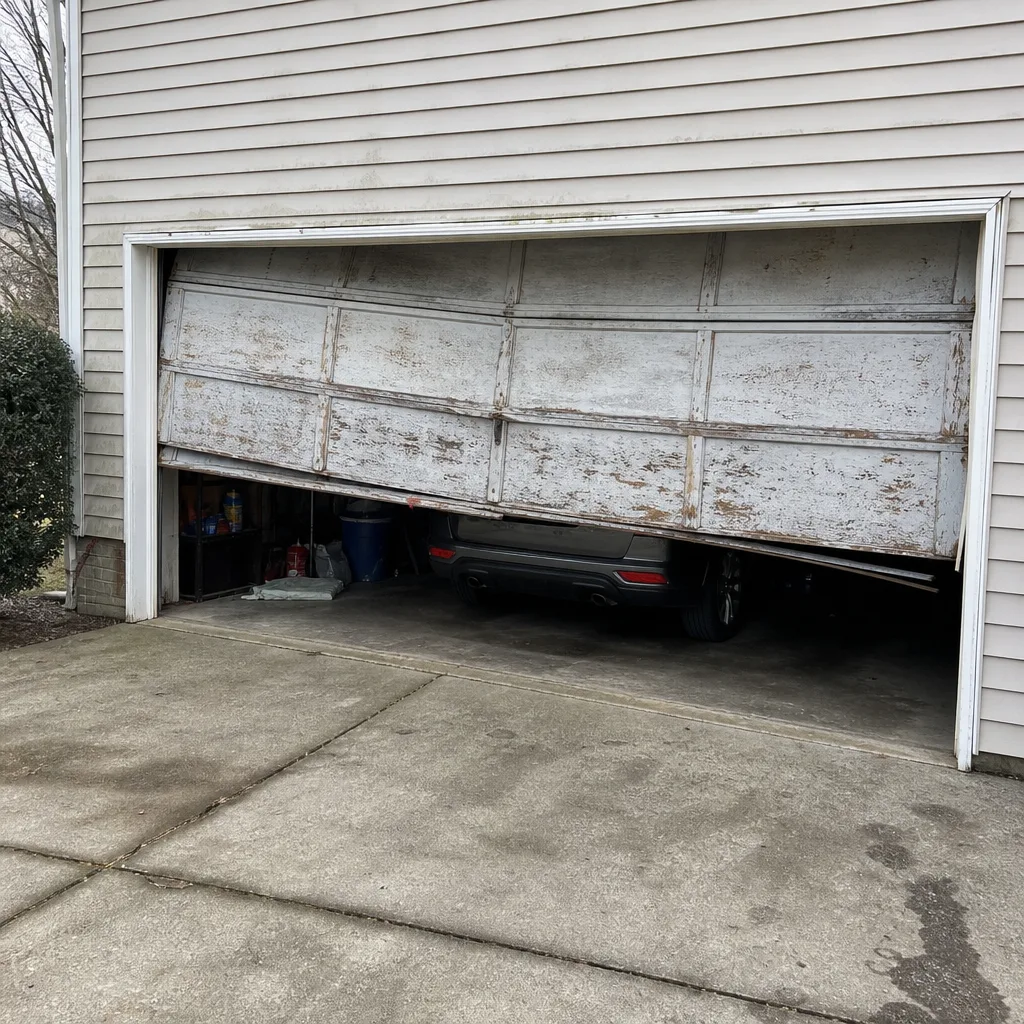 Before
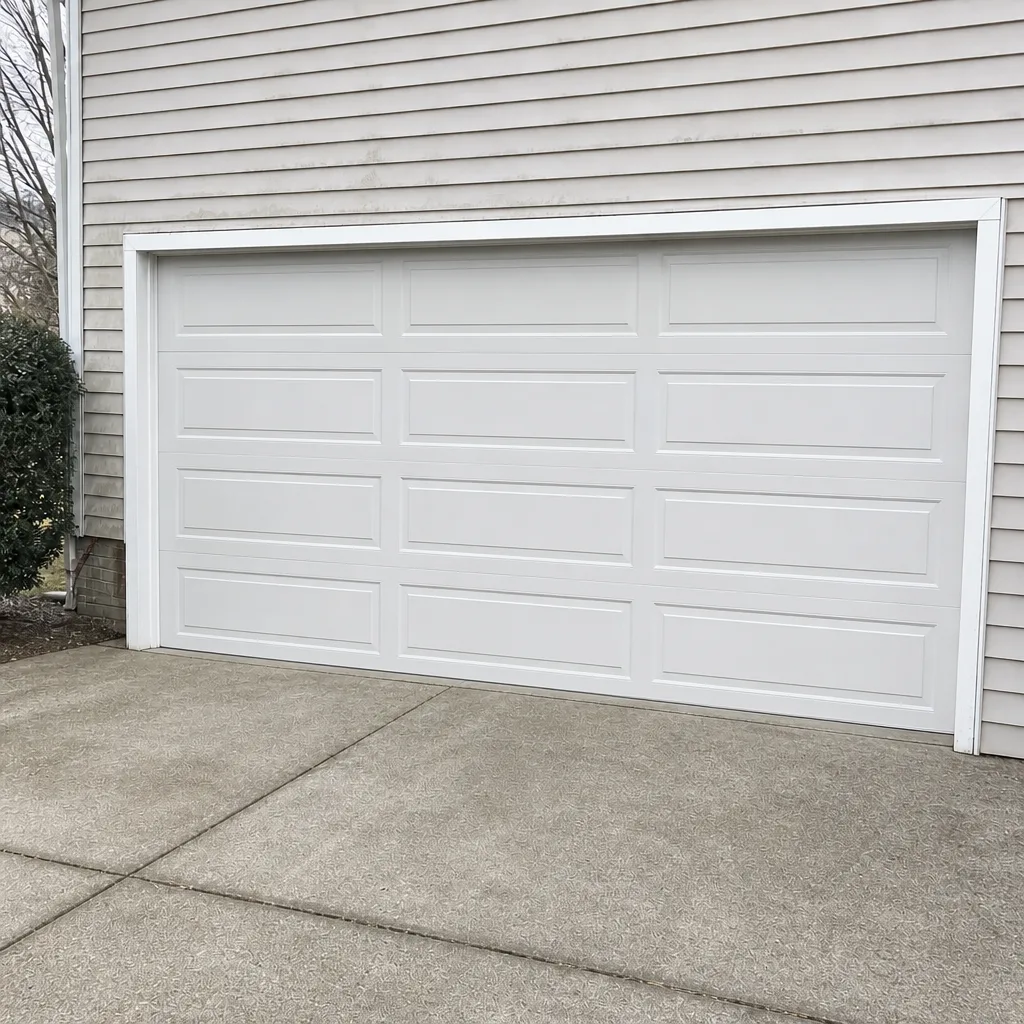 After
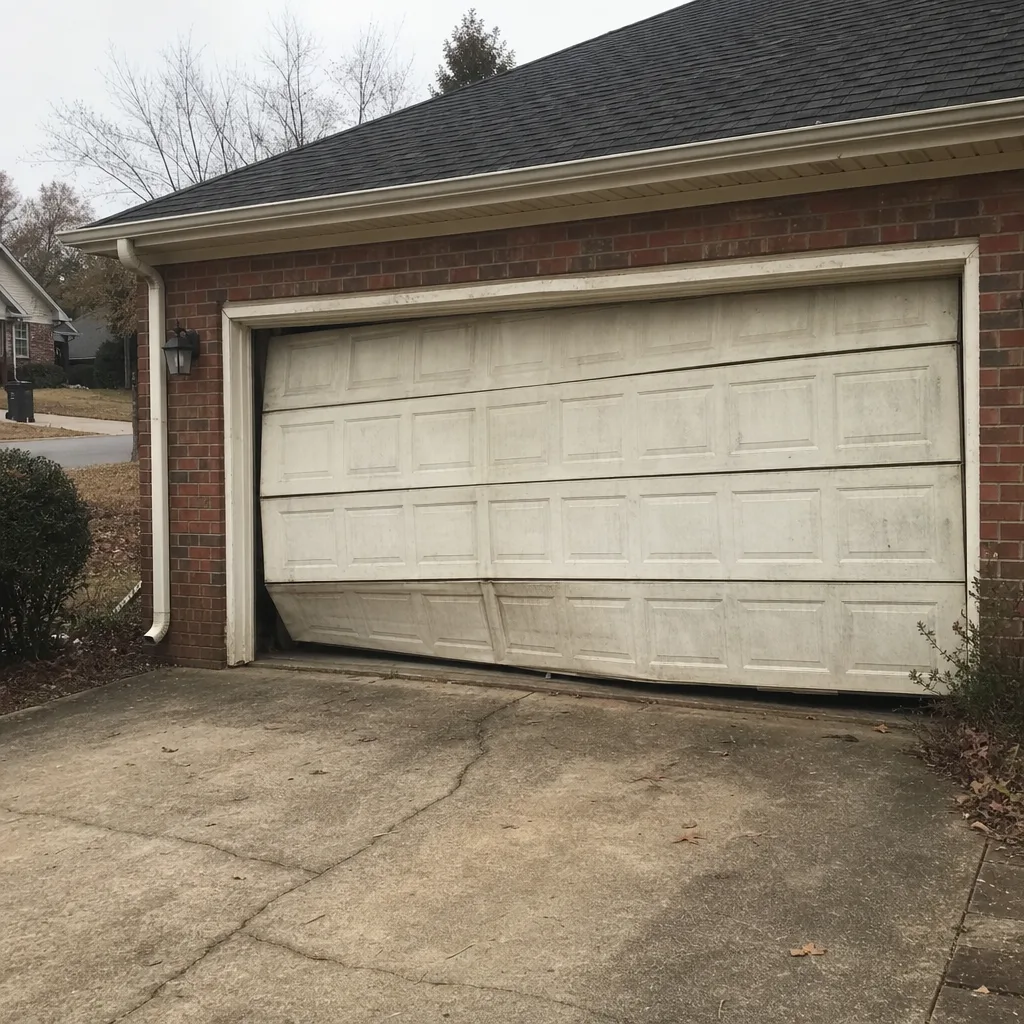 Before
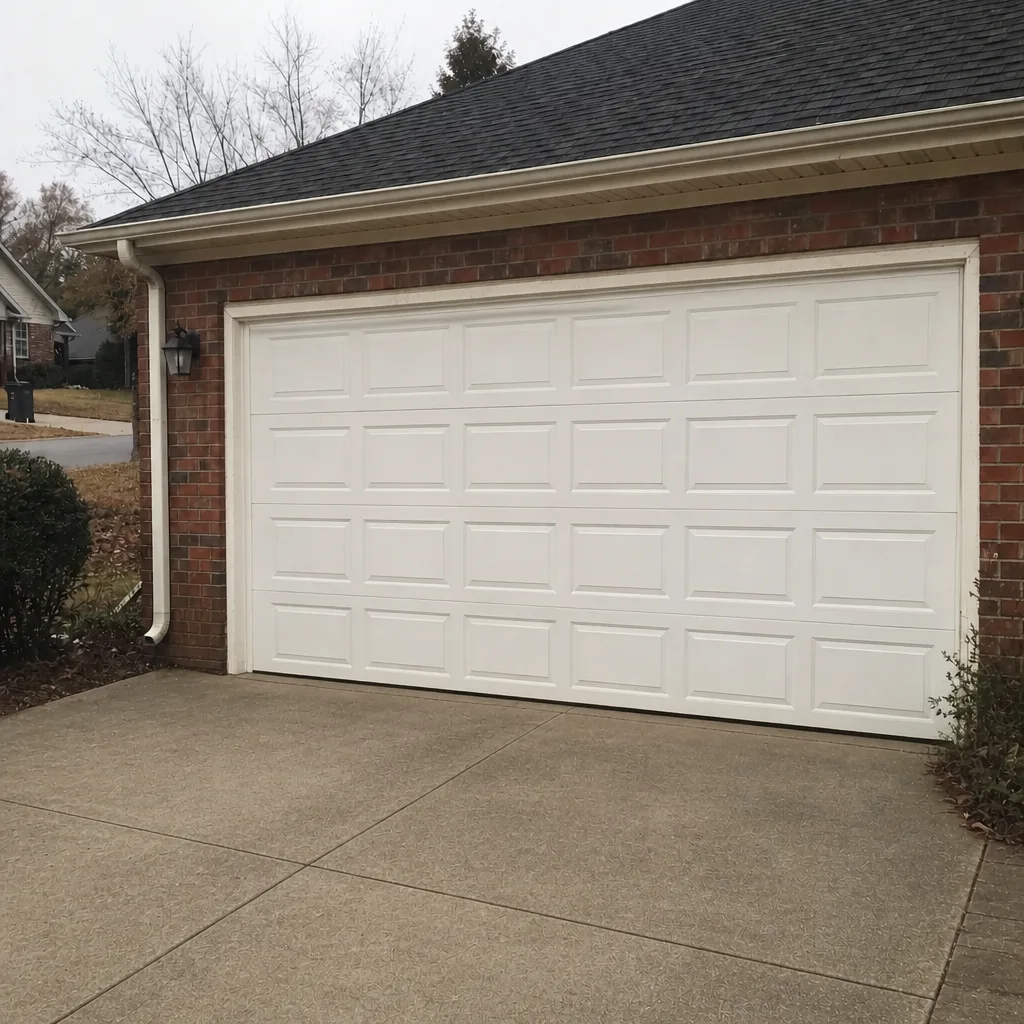 After
When to Call a Professional
Call a technician when the task lands in Zone 3 above: springs, cables, bottom brackets, or opener electronics. Also call when a Zone 2 task becomes unclear, when a door is visibly unbalanced, when the auto-reverse fails after adjustment, or when you hear a loud bang and the door suddenly won’t open. A broken spring is the most common reason a door stops moving entirely, and it’s the clearest signal to schedule a visit.
Our technicians have up to 15 years of experience and work on LiftMaster, Chamberlain, Genie, Clopay, Amarr, Wayne Dalton, Craftsman, and Raynor systems every job. Garage doors are all we do. Arrow Garage Door Service offers free estimates in High Point – call (833) 842-1974. We answer 24/7. Fast dispatch from 7am to 7pm, Sunday through Friday.
Frequently Asked Questions
No. A torsion spring holds enough stored energy to cause serious injury if it’s released during replacement, and the winding bars, torque specifications, and balance procedures required to do the job correctly are not available to a typical homeowner. The spring system is the one garage door component where the safety margin is genuinely thin.
Repair pricing is quoted per job after a technician diagnoses the issue, and we give you a written estimate before any work starts. There’s no fixed number because the job depends on the specific door, the brand, and what failed. The estimate is free.
Sometimes, but the risks are higher than they look. Opener installation often requires a permit, the opener must match the door’s load rating, and the high-voltage side of the installation is electrical work. If the opener is under manufacturer warranty, self-installation can also void it. If you’re considering DIY, confirm the warranty terms and check with your city’s building department first.
Lubricate the hinges, rollers, tracks, and spring every six months. Clean and test the photo-eye sensors. Test the auto-reverse safety feature with a flat board. Tighten loose hinge screws. Replace weather seals. Test the emergency release. All of these are safe and prevent the majority of avoidable breakdowns.
No, routine maintenance like lubrication and cleaning typically does not void a manufacturer warranty. Replacing springs, cables, or opener electronics with non-OEM parts, or adjusting the spring system beyond factory configuration, usually does. The manual lists the specific terms for your door and opener.
If the problem involves a spring, a cable, a bracket under tension, or the internal electronics of the opener, it needs a technician. If the problem is alignment, lubrication, cleaning, a weather seal, or a remote, it’s safe to handle yourself. When you’re not sure, a phone call is free and gets you a straight answer. Call (833) 842-1974 for an exact quote – estimates are free.
The Bottom Line
The DIY-versus-professional question for garage doors has a clear answer for most tasks. Lubrication, cleaning, sensor testing, and seal replacement are genuinely yours to do, and doing them prevents most breakdowns. The spring-and-cable zone is where the physics stops being forgiving, and no cost math justifies a DIY attempt. Between those two poles sits a middle ground of roller swaps, opener batteries, and track nudges – and that’s where tool cost, warranty terms, and your own risk tolerance actually decide. High Point homeowners who treat the spring system as a hard stop and the maintenance list as a seasonal habit get the best of both worlds. Call (833) 842-1974 for a free estimate on the work that’s genuinely a pro job.
Ready to schedule? garage door repair for diagnostic visits, garage door opener repair for electronics problems, or reach out for a free install estimate for new doors. We serve the High Point area with straight diagnosis and straight pricing.
Written by the team at Arrow Garage Door Service.